When it comes to stocking your tool bag, regardless if you are a plumber or even an HVAC technician, choosing the right tools to carry around in a tool bag is crucial for success in any job.
Let’s face it, the options can be overwhelming, and everyone has their own idea of what’s “essential.”
That’s why I’ve developed a methodical approach to help you select the must-have tools for your bag, eliminating any potential future regrets.
And that’s what we’re going to discuss in this article. We’re talking about everything from basic must-haves to specialized tools.
Let’s get started!
Basic Tools for a Tool Bag
You’ve got a tool bag, and it’s begging to be filled.
But not with junk—only the best tools should make the cut.
We’re talking about the basics that even your grandpa would keep in her tool bag (or backpack too).
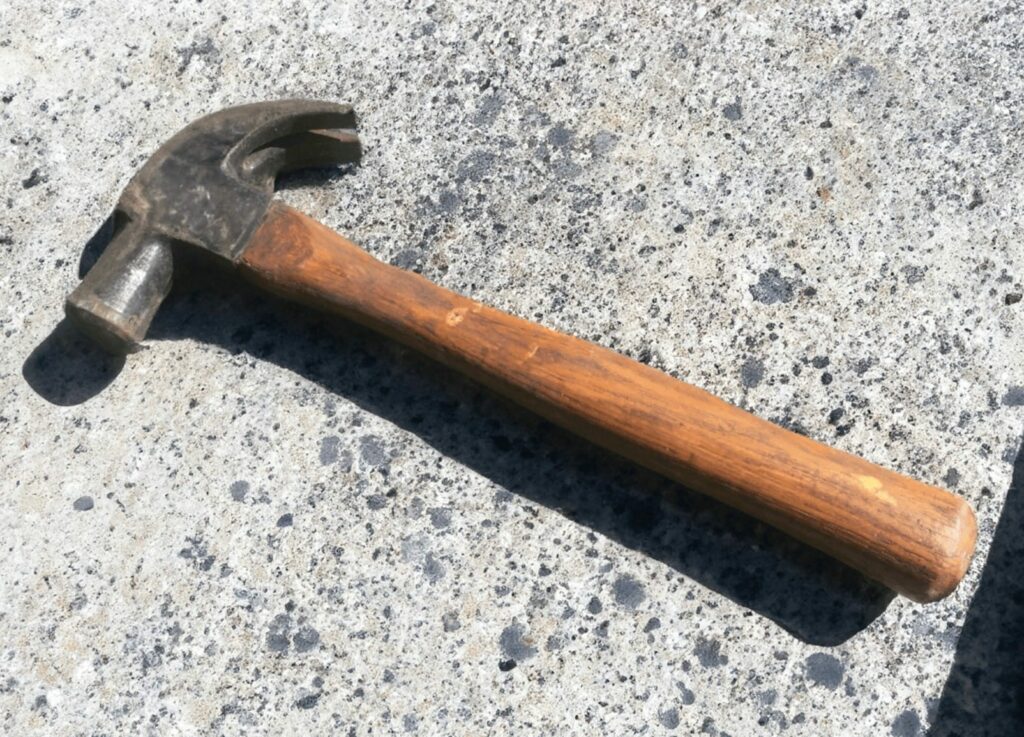
Claw Hammer
The traditional claw hammer is your everyday, run-of-the-mill hammer (particularly for carpenters!). It’s got a flat face for hammering and a curved claw for pulling out nails.
This isn’t just for pounding nails into the wall to hang your questionable art choices. A good claw hammer can also help you remove those nails when you come to your senses.
I’d tell you to look for one with a fiberglass handle as it reduces shock and saves your arm from feeling like jelly.
Regarding other types of hammers, we can find:
- Framing Hammer: Then there’s the framing hammer, which is a bit of a beast. It’s heavier and has a straighter claw. This is for your more serious projects—think building a deck or framing a house. The straight claw is great for ripping through materials like wood.
- Ball Peen Hammer: The ball peen hammer is more specialized. It’s used mostly for shaping metal, so unless you’re planning on becoming a blacksmith, you might not need this one in your basic tool bag.
- Tack Hammer: Got a reupholstering project in mind? The tack hammer is your best friend. It’s got a magnetic end that holds your tack or nail, allowing you to set it without smashing your fingers.
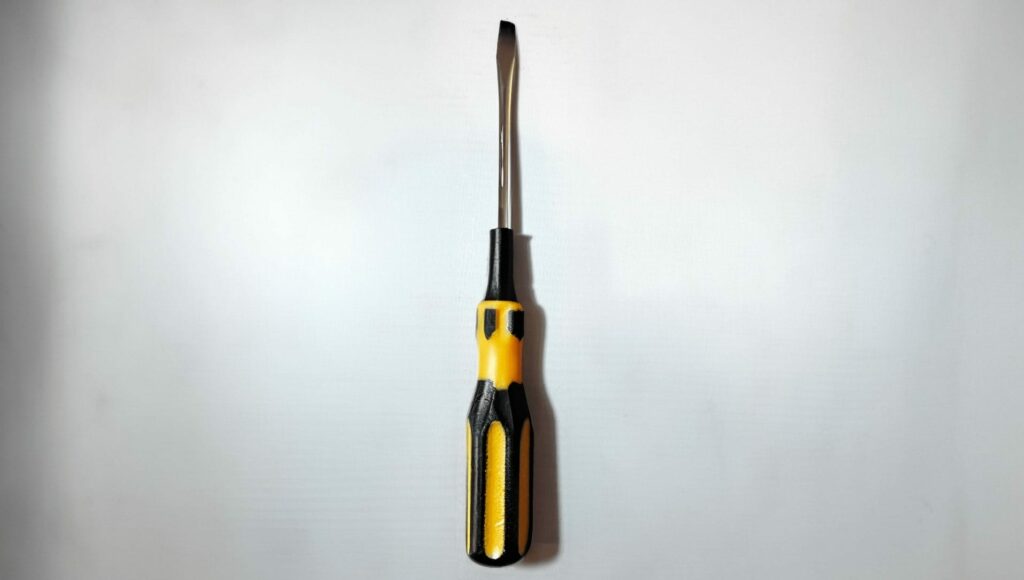
Screwdrivers
Screwdrivers are more than just a means to tighten or loosen screws; they’re your go-to tool for a plethora of tasks.
In fact, one could say that screwdrivers can be used for:
- Prying: A flathead screwdriver can be used to pry open lids, separate objects that are stuck together, or lift small nails and staples.
- Scraping: The edge of a flathead can also serve as a scraper for removing old paint, adhesive, or accumulated grime from surfaces.
- Stirring Paint: If you don’t have a paint stirrer on hand, a clean screwdriver can do the job effectively.
- Tightening Fixtures: Beyond screws, screwdrivers can also be used to tighten or loosen small bolts and nuts, especially in hard-to-reach places where a wrench may not fit.
- Leverage: The handle of a screwdriver can be used to provide extra leverage when trying to turn a stubborn object, like a rusty valve.
- Chiseling: While not a substitute for an actual chisel, a flathead screwdriver can be used for small chiseling tasks, like removing grout or creating a starting point for drilling into materials like wood or plaster.
Now, let’s talk about all the screwdriver types available
- Flathead Screwdrivers: They fit into slotted screws and can also be used for prying things open, scraping off old paint, or even as a makeshift chisel in a pinch.
- Philips Screwdrivers: These are a bit more specialized. They’re designed for screws that have a crosshead. These are often used in more modern applications and are less likely to slip out of the screw head, making your job a tad easier.
- Multi-bit Screwdriver: This is the transformer of screwdrivers as it comes with multiple tips that you can switch out depending on the job. So, instead of carrying around a whole set of screwdrivers, you’ve got one handle and several bits. It’s a space-saver and a time-saver.
Pro tip on features:
- Magnetic Tips: Look for screwdrivers with magnetic tips. They hold onto the screw, making it easier to get it into tight spaces.
- Grip: A screwdriver with a comfortable grip can make a world of difference, especially if you’re working on a project that takes a long time.
- Quality: Don’t skimp on quality. A cheap screwdriver can strip the screw head, and then you’re in a whole world of trouble.
Tape Measure
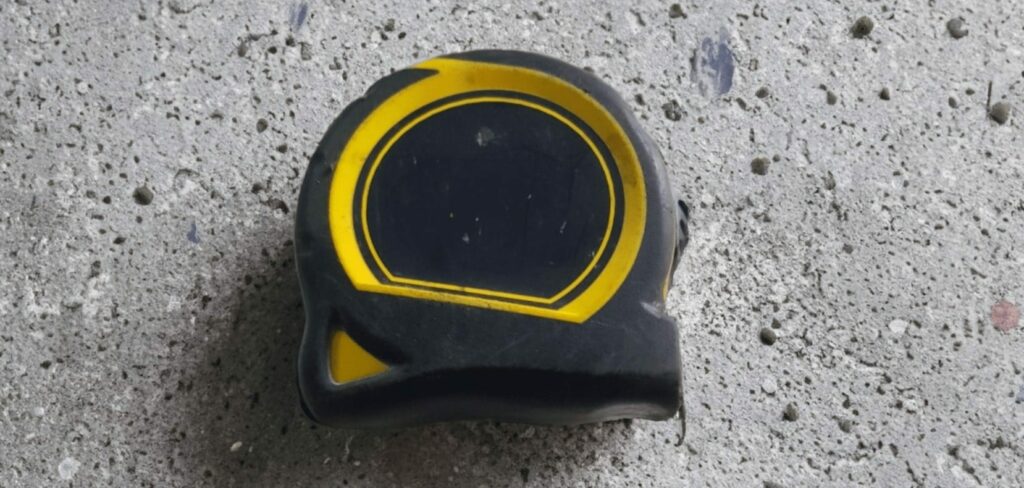
A tape mease is a precision instrument that’s crucial for the success of any project I’m tackling, whether it’s a minor home repair or a major construction job.
Believe me, I’ve learned the hard way that a small measurement error can lead to wasted materials, extra costs, and a ton of frustration.
That’s why I always opt for a high-quality tape measure which usually comes with:
- Locking Feature: The locking feature is a godsend. Imagine trying to measure a space that’s longer than your arm’s reach. You extend the tape measure, and just as you’re about to mark the measurement—snap! The tape retracts. A locking feature prevents this calamity.
- Retracting Feature: A self-retracting tape measure is another feature to look for. Once you’re done measuring, you press a button, and the tape winds itself back into the case. It’s all about convenience and speed.
- Length and Width: Go for a tape measure that’s at least 25 feet long. This will cover most household tasks. Also, look for a tape that’s at least an inch wide; it’ll stand out straight for a longer distance, making measuring easier.
Advanced Tools for a Tool Bag
Here are some more “advanced” tools that you may consider getting for your tool bag:
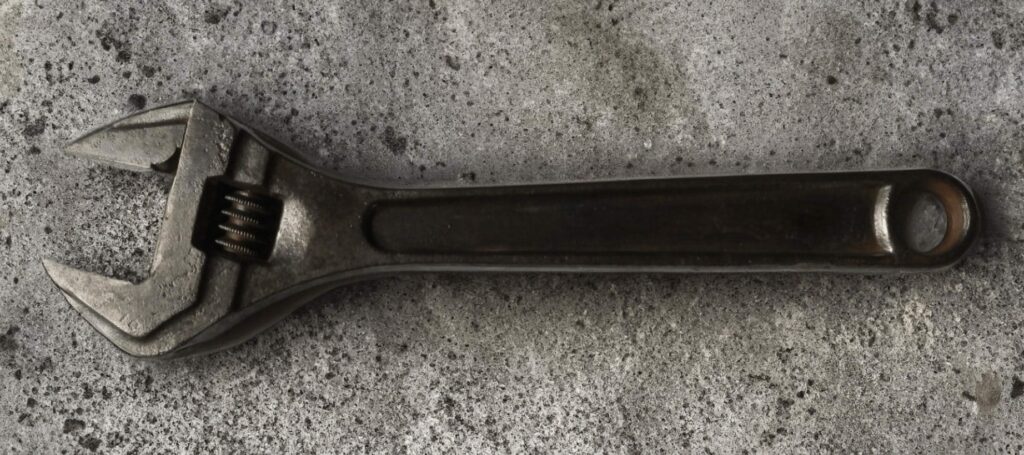
Adjustable Wrench
I can’t tell you how many times this tool has saved me from a trip back to the hardware store.
Its adjustable jaw means it can tackle nuts and bolts of various sizes, making it a one-size-fits-all solution.
I’ve used it for everything from plumbing tasks in the bathroom to assembling furniture. It’s also a godsend for automotive work; whether you’re tightening lug nuts or adjusting tension rods, this tool has got you covered.
When shopping for an adjustable wrench, look for one with both imperial and metric markings. This will allow you to work on a broader range of projects without constantly converting measurements.
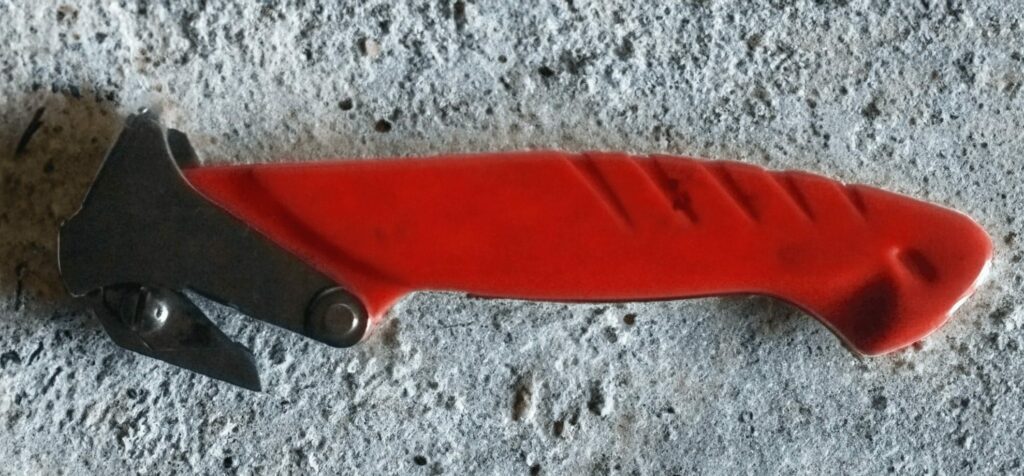
Utility Knife
This tool is a staple in my tool bag for its sheer versatility. It’s perfect for precision tasks like cutting wallpaper or vinyl flooring.
But it’s also robust enough for tougher jobs like slicing through thick cardboard or even light wood.
I’ve even used it to strip wires and cut through carpeting.
I believe you should get a utility knife that allows for quick blade changes. You’ll thank yourself when you’re in the middle of a project and need a fresh blade.
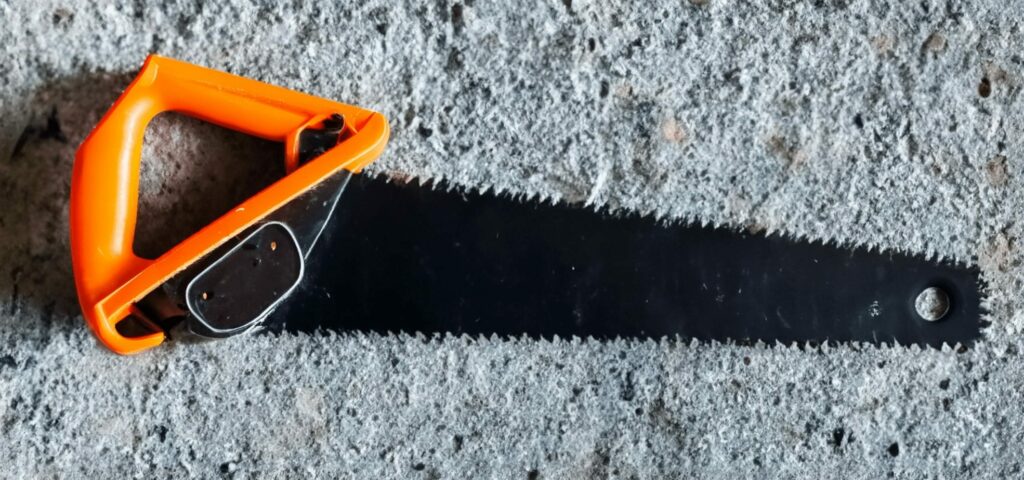
Hand Saw
A hand saw is a tool that’s been around for centuries but has evolved to meet modern needs.
I’ve got a couple of different types in my tool bag.
A traditional hand saw is great for cutting through wood, but I also keep a hacksaw for metal and plastic. The key is the blade; different materials require different tooth configurations for efficient cutting.
If you’re going to be cutting a lot of wood, consider a hand saw with a ‘rip-cut’ blade. For metal, a hacksaw with fine teeth is your best bet.
And always remember to let the saw do the work; applying too much pressure can dull the blade and make your cuts less accurate.
Specialized Tools for a Tool Bag
Now, let’s get onto some of what I call “specialized” tools for your tool bag.
These tools are designed for specific tasks that your basic hammer and screwdriver just can’t handle.
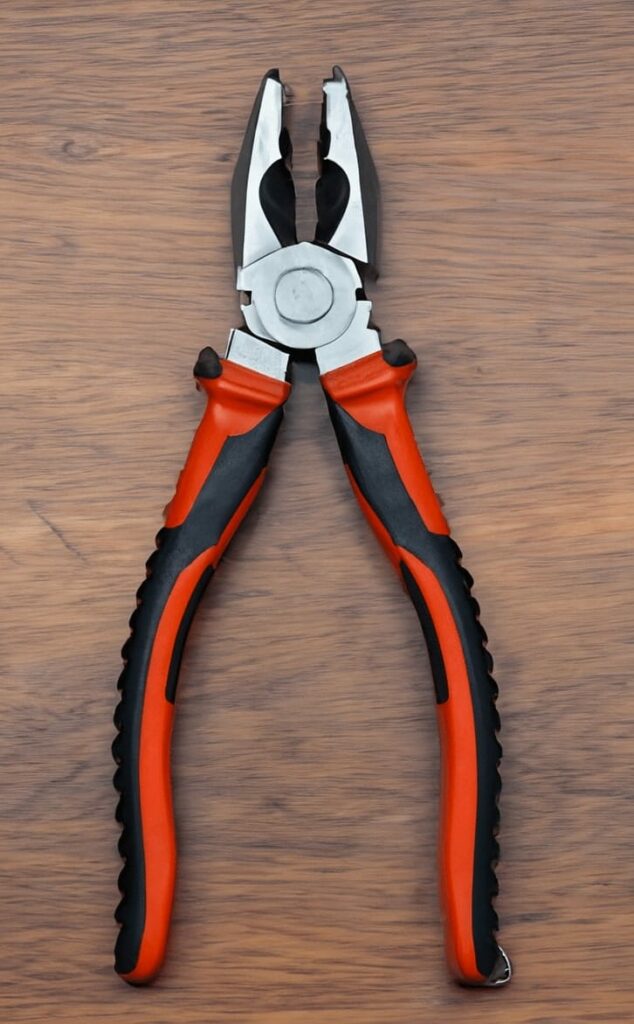
Pliers
You’ve got different types for different jobs, and each one is a lifesaver in its own right.
Take the long-nose pliers, for instance. These are perfect for electrical work, allowing you to grip, bend, and snip wires in those hard-to-reach places.
I’ve used them to fix a lamp and even to retrieve a ring that fell into a sink drain.
Then there are the diagonal-cutting pliers. These are your wire-cutting heroes. I’ve used them to snip through electrical wires during a home renovation project.
They’re also great for cutting zip ties, small nails, and even fish hooks if you’re into angling.
And let’s not forget the tongue-and-groove pliers. These are your go-to for plumbing tasks. I’ve used them to tighten and loosen pipes under the sink and even to replace a leaky faucet.
Level
A level tool is my go-to device for making sure a surface is either perfectly horizontal or vertical.
I’ve used a standard carpenter’s bubble level for hanging pictures, installing cabinets, and even for laying a brick patio.
The bubble level is often sufficient for most tasks, but there are also laser levels for more complex projects like installing ceiling lights.
Pro Tip: Always check the calibration of your level by placing it on a flat surface and then flipping it 180 degrees. The bubble should be in the same position both times. If it’s not, it’s time for a new level.
Sandpaper
Using sandpaper is not just about smoothing surfaces; it’s about preparing them for paint, stain, or sealant.
I’ve used coarse grits to remove old paint from furniture and medium grits to prepare new wood for staining. Fine grits are perfect for that final smooth finish before applying a sealant.
Different projects require different types of sandpaper. For wood, I usually start with a 60-grit and work my way up to a 220-grit for a super-smooth finish. For metal, a 120- to 150-grit usually does the trick.
Expert Tip: Always sand in the direction of the grain when working with wood. This prevents scratches and ensures a smoother finish.
Safety Gear for Tool Bag
You’ve got your tool bag filled with all the essentials, but there’s something missing…
Safety gear. It’s not glamorous, but it’s necessary.
Trust me, you don’t want to learn the hard way why you should’ve been wearing safety glasses or gloves.
Safety Glasses
Safety glasses may not be the most stylish accessory, but they’re a non-negotiable part of your tool bag.
I’ve been in situations where I’m hammering away, and a tiny piece of debris decides to go airborne.
Guess where it’s headed? Straight for my eyes. That’s when these bad boys come in handy.
They’ve saved me from more than just a few close calls.
I’d say opt for safety glasses that offer UV protection as well. If you’re working outdoors, this feature is a game-changer. It protects your eyes from harmful UV rays while you’re busy being the DIY genius that you are.
Gloves
I personally got a range of gloves for different tasks.
Leather gloves are my go-to for heavy-duty stuff like handling lumber or metalwork as they offer the kind of durability and protection that you just can’t get with other materials.
For tasks that require a delicate touch, like painting or electrical work, I switch to latex or nitrile gloves. They’re thinner, allowing for more dexterity, and they’re also disposable, which is a plus when you’re dealing with chemicals or paint.
Hearing and Breathing Protection
You might not think that a quick drilling job could affect your hearing, but let me tell you, prolonged exposure to high-decibel sounds is no joke.
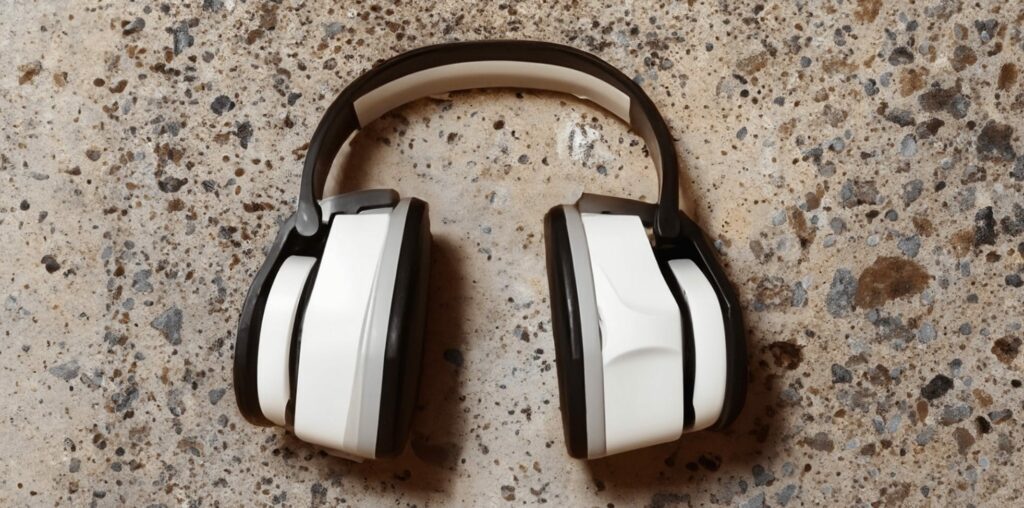
I’ve got a pair of noise-canceling earmuffs that I wouldn’t trade for the world. They not only protect my ears but also help me focus on the task at hand by drowning out background noise.
Breathing protection is another often-overlooked aspect.
Whether you’re sanding, painting, or even just sweeping up, particles can become airborne. Inhaling these can lead to long-term health issues.
I use a respirator with replaceable filters for tasks that generate a lot of dust or fumes. It’s not just about comfort; it’s about health.
Miscellaneous Items for Tool Bag
We’ve covered the basics, the advanced tools, and even the safety gear.
But what about those unsung heroes that don’t get the spotlight but can make your life a whole lot easier?
I’m talking about the additional items that you might not think of initially but will soon find indispensable:
- Zip Ties: These little plastic wonders are incredibly versatile. I’ve used them to quickly secure loose cables, bundle items together, and even as a temporary fix for a broken bag handle. They’re cheap, easy to use, and take up almost no space in your tool bag.
- WD-40: From loosening rusty bolts to stopping squeaky hinges, WD-40 has a multitude of uses. I never leave home without a can in my tool bag.
- Duct Tape: From quick fixes to temporary seals, duct tape can do it all. I’ve even used it to patch up a hole in a tent while camping. It’s the all-purpose solution that you absolutely need in your tool bag.
- Electrical Tape: While duct tape is great for a variety of tasks, when it comes to electrical work, you’ll want electrical tape. This is specifically designed to insulate electrical wires, making your DIY electrical projects safer. I always keep a roll in my tool bag for those unexpected electrical issues.
- A Small Notebook and Pen: You might laugh, but a small notebook and pen have saved me more times than I can count. Whether it’s jotting down measurements, sketching out a quick design, or making a list of materials I need to pick up, having something to write on is incredibly useful.
Frequently Asked Questions
1) What is the difference between a tool bag and a tool box?
A tool bag is generally softer, made of fabric like canvas or nylon, and is more portable. I prefer it because it’s easier to carry around, especially if you’re climbing ladders or moving through tight spaces. A toolbox, on the other hand, is usually hard-shelled and offers more protection but can be cumbersome.
2) How do you store tools in a tool bag?
It’s not just about throwing everything in; it’s about organization. I always keep my most-used tools like screwdrivers and hammers in the outer pockets for easy access. The inner compartments are for specialized tools and items like zip ties, electrical tape, and that indispensable can of WD-40.
